When storms hit East Tennessee, homeowners often worry about hidden roof damage. That is where hail damage roof inspection Knoxville becomes essential. 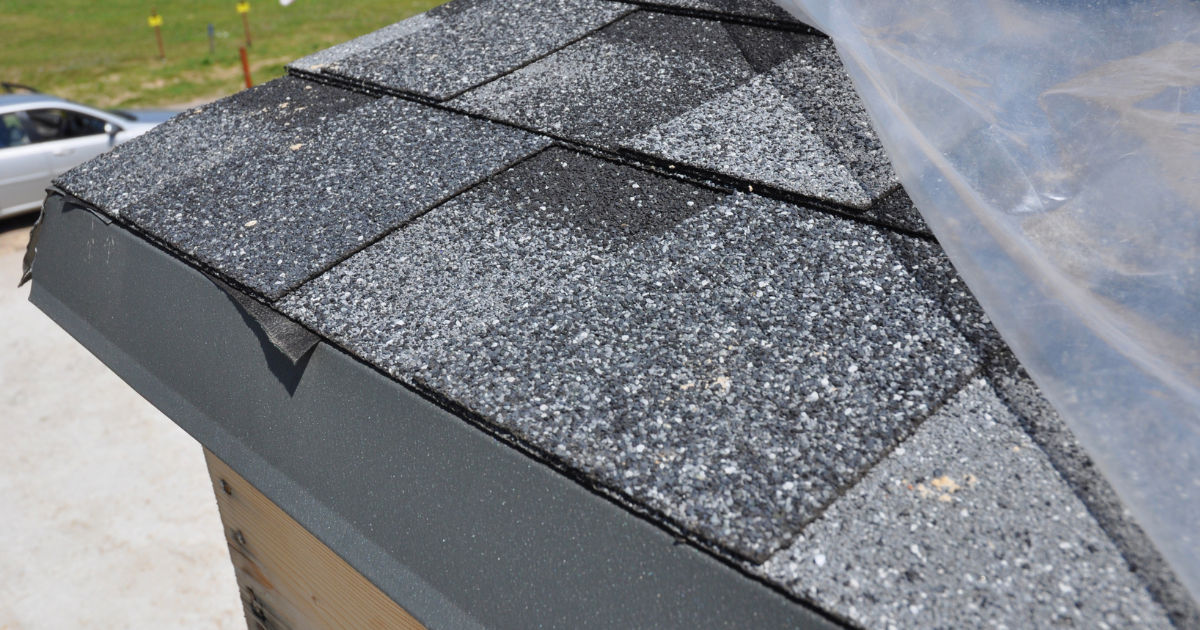 A professional hail damage roof inspection Knoxville helps detect small cracks, bruised shingles, and weak flashing before they turn into serious leaks. In a city like Knoxville, where hailstorms can be sudden and intense, early detection protects your home and your wallet.
This guide explains how hail inspections uncover roof leaks, what inspectors look for, and why scheduling a hail damage roof inspection Knoxville quickly after a storm is the smartest step you can take.
Understanding Hail Damage in Knoxville
Knoxville experiences seasonal storms that sometimes bring hail ranging from pea-sized pellets to golf ball-sized ice. Even small hail can damage roofing materials. Larger hail can crack shingles, dent metal panels, and weaken protective layers.
Hail damage is not always visible from the ground. A roof may look fine from your driveway, but impact marks can slowly allow water to seep underneath.
A detailed hail damage roof inspection Knoxville focuses on identifying these subtle issues before leaks develop inside your attic or ceilings.
Why Roof Leaks Often Start After Hailstorms
Roof leaks rarely happen immediately after hail falls. In many cases, damage weakens shingles or flashing. Over time, wind and rain exploit those weak spots.
Here’s how it happens:
-
Hail bruises asphalt shingles.
-
Granules loosen and wash away.
-
UV rays dry out the exposed area.
-
Small cracks widen.
-
Rainwater penetrates the underlayment.
-
Moisture enters the attic.
A proper hail damage roof inspection Knoxville identifies these early warning signs so repairs can happen before interior damage begins.
What Is a Hail Roof Inspection?
A hail inspection is a structured evaluation of your roofing system after a storm. It includes a full surface review, structural assessment, and documentation.
During a hail damage roof inspection Knoxville, professionals examine:
-
Shingles
-
Flashing
-
Gutters
-
Downspouts
-
Roof vents
-
Skylights
-
Chimney seals
-
Attic insulation
-
Interior ceilings
The goal is to detect both visible and hidden hail impact points.
Step-by-Step Process of Hail Inspection
1. Exterior Ground Assessment
Inspectors begin by walking around your home. They look for signs such as:
These clues suggest roof-level hail impact. This initial phase of a hail damage roof inspection Knoxville helps determine the severity of the storm’s effect.
2. Rooftop Surface Examination
Next, professionals safely climb onto the roof. They check for:
Bruised shingles may not crack immediately, but they lose structural strength. A thorough hail damage roof inspection Knoxville includes gently pressing suspected areas to detect soft impact zones.
3. Granule Loss Analysis
Asphalt shingles are coated with granules that protect against UV rays. Hail often knocks these granules off.
Inspectors check:
Granule loss is one of the strongest indicators found during a hail damage roof inspection Knoxville, as it exposes the shingle base to moisture and sunlight.
4. Flashing and Seal Inspection
Flashing seals joints around chimneys, vents, and skylights. Hail can bend or crack these metal pieces.
Even a small bend can allow water intrusion. A professional hail damage roof inspection Knoxville carefully checks flashing edges, seals, and fasteners.
5. Attic Interior Inspection
Roof damage does not always show outside. Inspectors enter the attic to look for:
If hail has created cracks, moisture may appear in the attic first. This stage of hail damage roof inspection Knoxville helps confirm whether leaks have already started.
Signs That Hail Inspection Has Detected a Leak
When an inspector finds damage that leads to leaks, it usually includes:
A complete hail damage roof inspection Knoxville connects exterior impact points to interior moisture patterns to confirm leak sources.
Types of Roof Damage Caused by Hail
Asphalt Shingle Damage
Most Knoxville homes use asphalt shingles. Hail can:
Each of these problems is identified during a hail damage roof inspection Knoxville.
Metal Roof Damage
Metal roofs may dent rather than crack. While dents seem cosmetic, they can loosen fasteners and seams. A skilled hail damage roof inspection Knoxville checks seam integrity and screw tightness.
Tile and Slate Damage
Tile roofs can crack under heavy hail. Even hairline fractures allow moisture inside. During a hail damage roof inspection Knoxville, inspectors tap tiles to detect hollow sounds indicating fractures.
Why DIY Inspections Are Risky
Some homeowners attempt their own inspection. This can be dangerous and ineffective.
Risks include:
Professional hail damage roof inspection Knoxville services use safety equipment and trained evaluation techniques that homeowners usually lack.
How Early Inspection Prevents Costly Repairs
Small hail damage may cost little to fix. But untreated damage can result in:
-
Rotten decking
-
Mold remediation
-
Ceiling replacement
-
Electrical hazards
A timely hail damage roof inspection Knoxville can prevent thousands of dollars in future repairs.
Insurance and Documentation Benefits
After a hailstorm, insurance claims may be necessary. Insurers require evidence.
A detailed hail damage roof inspection Knoxville includes:
-
Photographs
-
Written damage reports
-
Impact mapping
-
Repair recommendations
This documentation strengthens your claim and speeds approval.
When Should You Schedule a Hail Inspection?
You should arrange a hail damage roof inspection Knoxville if:
-
Hail larger than 1 inch fell
-
Neighbors report roof damage
-
You notice dents in gutters
-
Interior ceiling stains appear
-
Your roof is over 10 years old
Even if you see no immediate signs, a professional evaluation provides peace of mind.
Seasonal Considerations in Knoxville
Knoxville hailstorms often occur in spring and early summer. However, fall storms can also bring unexpected hail.
Scheduling a hail damage roof inspection Knoxville after any major storm ensures your roof enters the next season in good condition.
Advanced Tools Used in Hail Inspections
Modern inspectors use:
These tools enhance the accuracy of a hail damage roof inspection Knoxville, especially on steep or complex roofs.
Common Myths About Hail Damage
Myth 1: Small Hail Cannot Cause Damage
Even pea-sized hail can bruise shingles. A professional hail damage roof inspection Knoxville often reveals damage invisible to homeowners.
Myth 2: If It’s Not Leaking Now, It’s Fine
Damage weakens roofing materials gradually. A delayed leak is common. That’s why scheduling a hail damage roof inspection Knoxville promptly is important.
Myth 3: Only Old Roofs Are Affected
New roofs can also suffer hail damage. Age does not guarantee protection. Every home benefits from a hail damage roof inspection Knoxville after severe storms.
Cost of Hail Inspection in Knoxville
Many roofing companies offer free inspections after storms. Some charge a small fee depending on roof size and complexity.
Regardless of cost, investing in a hail damage roof inspection Knoxville is far cheaper than repairing interior water damage later.
How Inspectors Differentiate Hail Damage from Normal Wear
Experienced professionals distinguish hail impact from:
-
Blistering
-
Foot traffic marks
-
Manufacturing defects
-
Aging cracks
A trained eye during a hail damage roof inspection Knoxville ensures accurate identification and avoids false insurance claims.
The Role of Maintenance After Inspection
Once damage is identified, homeowners should:
-
Replace damaged shingles
-
Seal flashing gaps
-
Clear gutters
-
Monitor attic moisture
Following a hail damage roof inspection Knoxville, prompt maintenance keeps small issues from escalating.
Long-Term Effects of Ignoring Hail Damage
If left untreated, hail damage can cause:
-
Structural weakening
-
Mold spread
-
Energy inefficiency
-
Higher utility bills
-
Reduced home value
Regular hail damage roof inspection Knoxville services protect your investment and extend roof lifespan.
Choosing the Right Roofing Professional
When selecting a contractor for hail damage roof inspection Knoxville, look for:
Local knowledge matters because Knoxville weather patterns differ from other regions.
Preventive Measures After Inspection
After completing a hail damage roof inspection Knoxville, homeowners may consider:
-
Impact-resistant shingles
-
Reinforced flashing
-
Routine annual inspections
-
Gutter guards
-
Attic ventilation upgrades
Preventive steps reduce the impact of future hailstorms.
How Hail Inspection Protects Home Value
Your roof is one of your home’s most valuable assets. A documented hail damage roof inspection Knoxville reassures potential buyers that your property is well maintained.
Homes with untreated roof damage often face reduced resale value or delayed sales.
Emotional Peace of Mind
Beyond structural protection, a hail damage roof inspection Knoxville gives homeowners confidence. Knowing your roof is secure after a storm reduces stress and uncertainty.
Detailed Conclusion
Hailstorms are unpredictable in Knoxville. What appears to be minor surface damage can quickly become a costly roof leak. That is why scheduling a hail damage roof inspection Knoxville immediately after severe weather is essential.
Through ground evaluation, rooftop examination, attic inspection, and advanced detection tools, professionals identify hidden weaknesses before they escalate. A well-documented hail damage roof inspection Knoxville not only prevents interior water damage but also supports insurance claims and protects long-term property value.
Ignoring hail damage may save money today, but it can lead to major repairs tomorrow. Whether your roof is new or aging, proactive inspections extend its lifespan and safeguard your home.
In a region prone to seasonal storms, investing in a thorough hail damage roof inspection Knoxville is not just maintenance — it is smart homeownership. By taking quick action, you ensure your roof remains strong, watertight, and ready to protect your family for years to come.