
A liquidizer is a important tool to use in the kitchen to make smoothies, milkshakes, and soups. A food processor is another outstanding kitchen appliance, which is outstanding for chopping herbs and other produce. Toaster ovens are also great for reheating leftovers or pizza. A moderate mixer is a outstanding tool for shading sauces and other ingredients.
Multicookers
If you have a modest kitchen, you may want to think about buying a multicooker instead of a rice cooker or slow . Multicookers are moderate kitchen appliances that can cook a variety show of dishes, and many are easy to clean. They also do not make a lot of mess, making them of import for small spaces.
Multicookers have a variety of features, and some models have predetermined programs. You can use them to cook rice, stew, yoghourt, and more. You can even set the temperature and coerce so that your food cooks in the way you favor. Some models can even do sous-vide cookery. You can also set your multicooker to automatically turn on the keep warm feature, keeping your food warm without exposing it to too much heat. This boast prevents pestilent bacterium from growth in the food you cook with it.
Multicookers are a of import way to save quad in the kitchen. They do several preparation methods, including simmering, boiling, sauteing, and broiling. The more sophisticated models come with up to 12 pre-programmed functions. They can also supplant other appliances, such as the slow cooker, the dehydrator, and the air pullet. You can even cook dry beans and other food items in a ace pot with a multicooker.
Multicookers are not affordable, and the littler versions are more low-cost than the larger 6.0 dry quart ones. Originally made-up in the United Kingdom, multicookers are now used in many countries around the earthly concern. Different cultures use different multicookers, and the dishes hard-baked with them vary. For example, the Australians have their own variant, the Instant Pot.
Tabletop ovens
A tabletop convection oven is a modest kitchen contrivance that allows you to cook a variety of foods in the oven. These devices are in general more high-ticket than their littler counterparts, such as wassailer ovens, but they offer a lot of benefits. For example, they can be used for baking hot breadstuff, cookies, and other baked goods. Plus, they’re jackanapes and easy to move. The only is that they don’t have much insulating material, so they may get quite hot on the outside during cooking.
They take up less space than conventional ovens, making them apotheosis for modest kitchens. Because they are whippersnapper and outboard, they are also ideal for use in modest apartment buildings, student dorms, or campers. Many models also have hurt functionality to help you save time by eliminating the guesswork from preparation. Of course, the number of features you’ll need will bet on how much cooking you do and how often you plan to use your new kitchen appliance.
Some tabletop ovens come with accessories such as a grilling rack and a temperature probe. Some models even have a slippery pizza pan. The interior is BPA and PFOA-free and the oven is dishwasher-safe.
Toaster ovens
A toaster oven is a small kitchen appliance that cooks items speedily and with efficiency. You can pick out a model with a single or two-slice . Many models can cook up to nine-inch pizzas. You can also pick out a littler one that takes up less forestall quad.
Toaster ovens can be used to cook staff of life, side dishes, and even whole meals. Most of these appliances come with predetermined modes that will help you tailor-make your cookery see. Some models have predetermined settings for baking, broil, browning, and defrosting. Some models can even include a setting.
Toaster ovens are nonclassical modest kitchen appliances. Although they may not be as park as toasters, their popularity is maximising thanks to their versatility. They are also reasonably priced and volunteer a outstanding deal of convenience. There are numerous top-rated models available. The gross revenue of these appliances are largely due to their cheap prices and handy features.
Toaster ovens are very versatile and can supplant several appliances in the kitchen. These moderate kitchen appliances save quad and reduce cookery time. They can cook anything from an stallion wimp to roasted vegetables. They do not want preheating and use much less energy than a orthodox oven. This makes them a great summation to any kitchen.
Toaster ovens can also be used for roasting, grilling, and defrosting. They are also a of import pick if you have a small quad in your kitchen. Many toaster oven models also boast an air pullet, which allows you to cook foods without using oil. This makes them healthier than traditional frying methods and preserve the crispy texture of the food.
Food processors
A food central processor is a modest kitchen gadget that allows you to make a variety of foods with ease. It features a large mix bowl that makes it easy to fold in the ingredients. Some models have bowl scrapers that allow you to remove excess dinge from the sides of the bowl. Cuisinart makes high-quality food processors that come in a variety of sizes.
They save space in the kitchen and have many attachments. There are slicing and dicing discs that make it easy to tear up make, cheese, and other ingredients. You can also use a grate disc to fine grate cheese and make. All of these attachments can help you make a variety show of foods.
One of the main benefits of a food central processor is its ease of cleanup. Some food processors are dishwasher-safe, while others need hand lavation. It is noteworthy to pick out a food central processor that has easy-to-clean parts. Some processors have refuge features that keep the drive from running when the bowl or lid is not secure properly.
Mini food processors are important for moderate batches of ingredients. These models are more efficient than full-size counterparts. They can be well moved from one counter to another and easier to store. Moreover, they are easier to strip, making them nonesuch for use in small kitchens.
Immersion circulators
Immersion circulators are modest kitchen appliances that are used to cook food sous vide. This technique involves cookery food in a irrigate bath until it is soft and tender. The work on can be performed in any size kitchen. Many circulators also come with a smartphone connection so that you can monitor the temperature of the food inside the cooking .
An submersion circulator usually costs less than 200 and has a whole number readout and controls that you can use to correct the temperature. However, there is no timer, so you must ply your own. You also need to provide impressionable bags for the table of contents, although many users have rumored that Ziploc bags work just fine. Another benefit is that these dishwasher repair Irvine can be used with other appliances, such as an Instant Pot.
In plus to cookery food, submersion circulators can also be used for skill experiments. They help accomplish nice temperatures by repeatedly circulating irrigate through a warming . This constant heat allows for the food to be rare-roasted at a specific temperature for optimum season and texture. This boast allows you to verify the temperature of your food and save time and vim.
Immersion circulators are moderate kitchen appliances that make sous vide cookery easier and more favorable. They attach to the side of a pot or a sink and keep the irrigate around the food at a constant temperature. This ensures an even cook and no hot muscae volitantes on the food.
Blenders
Blenders are modest kitchen appliances that can help make a variety of recipes. Most blenders are cheap and easy to clean. However, there are a few features to look for when buying one. A high-quality liquidiser will have blades that can powderise anything. You should also look for one with a thermic shock tolerable carafe.
One of the most probative factors to consider when purchasing a liquidiser is the refuge features. Although blenders are modest devices, they can still be wild if you are not careful. Look for safety features and a block system of rules to keep accidents from happening. Some blenders are also equipped with rubberize feet to keep them on the foresee.
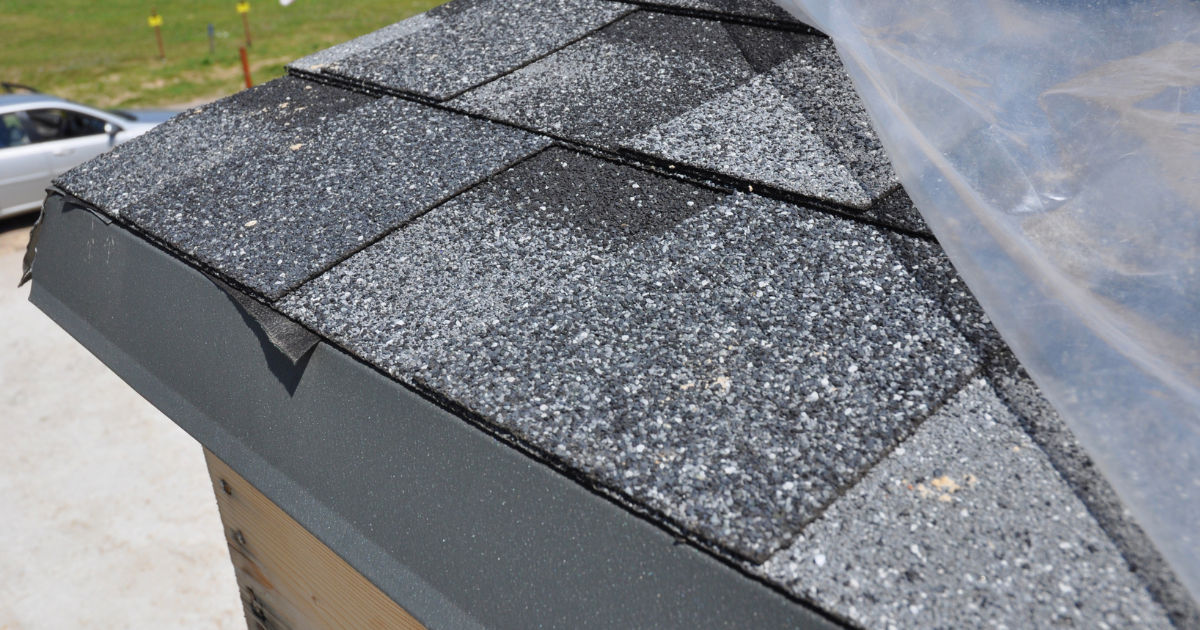 A professional hail damage roof inspection Knoxville helps detect small cracks, bruised shingles, and weak flashing before they turn into serious leaks. In a city like Knoxville, where hailstorms can be sudden and intense, early detection protects your home and your wallet.